Academic Staff - Video Creators
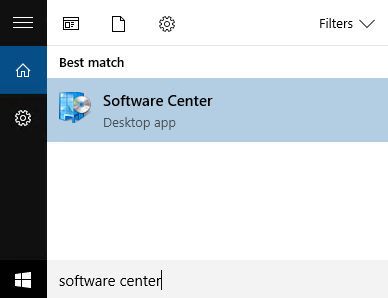
How to install the Panopto RecorderInstallation Method 1: Software Center (only for Domain-joined desktop)
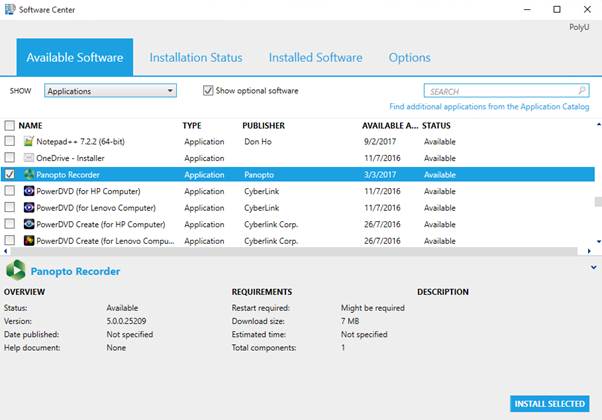
Step 2: Look for "Panopto Recorder" in "Available Software", select the "Panopto Recorder" and click "INSTALL SELECTED".
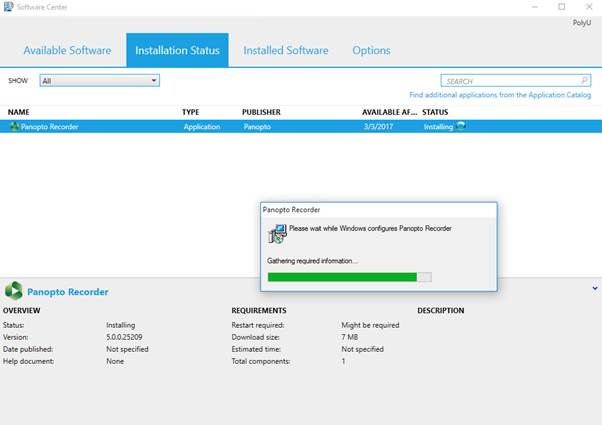
Step 3: The installation will start automatically, wait until it finishes.
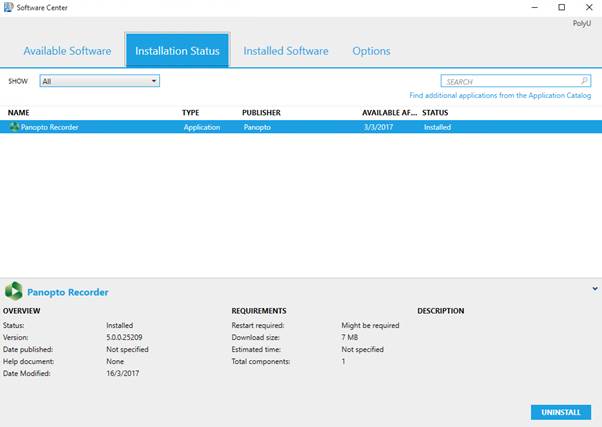
Step 4: The installation completes when status changes to "Installed".
Step 5: A shortcut is created on desktop and you may launch the Panopto Recorder.
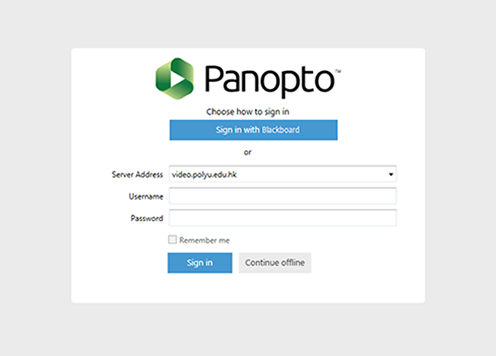
Method 2: Download the installation file from PolyU VCMS website Step 1: Login to the PolyU VCMS web interface
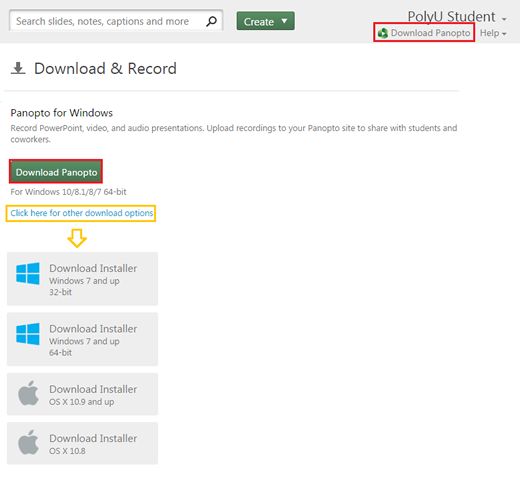
Step 2: Click "Download Panopto" under your NetID name, and click the green button to start downloading, you may find other recorder version in the option list.
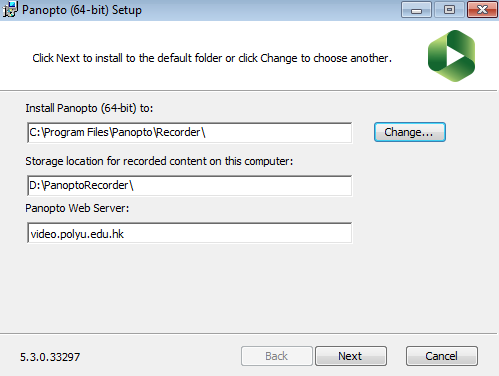
Step 3: Locate PanoptoRecorder.exe that you've downloaded and run the application, the installer will self-extract and begin the installation. Step 4: Select your installation path and the storage location if needed, and leave Panopto Web Server as default.
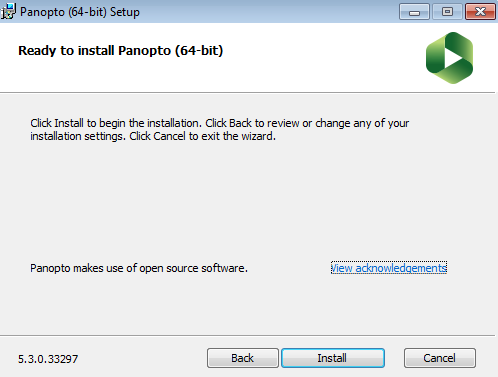
Step 5: Click "Install".
Step 6: You may now sign in with your Blackboard NetID.
How to provision your Blackboard course with VCMSStep 1. To provision directly from a course, first login as an instructor for the course you'd like to provision. Step 2. Navigate to your desired course. Step 3. On the course page, click "Tools" in the left navigation pane.
Step 4. Under Tools, click "Panopto Content".
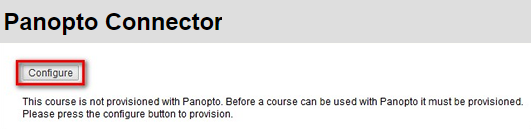
Step 5. Click "Configure"
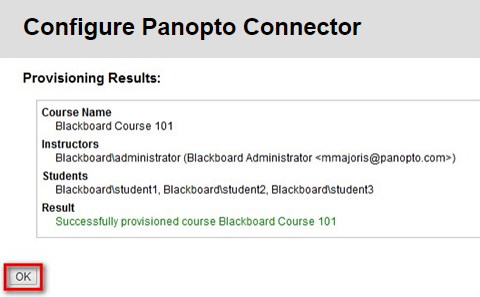
Step 6. To provision the course, click "Add Course to Panopto".
Step 7. You will see a message telling you that the course has been successfully provisioned. Click "OK" to finish.
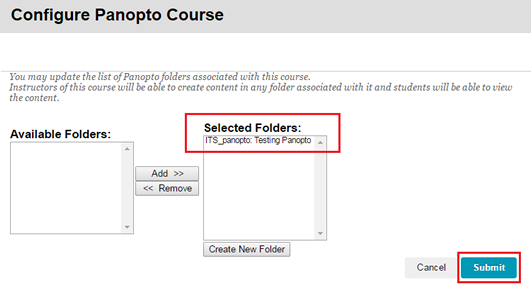
Step 8: The selected folders should be the course you choose, click "Submit" to finish.
How to start a RecordingStep 1: Select your desired video sources and adjust the quality for recording and Press "Record" to start your recording. (higher quality will increase loading/storage of the recording)
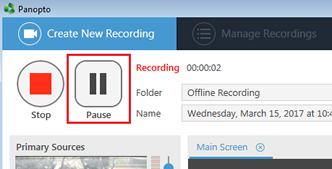
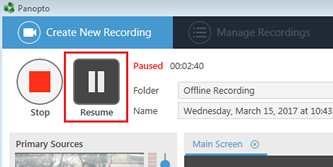
Note: You must at least have audio in order for the recording to be complete and usable without additional recordings. Step 2: you may "Pause" and "Resume" the recording at any time.
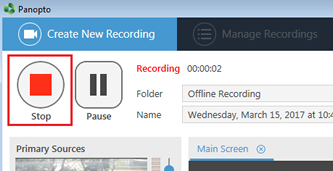
Step 3: Press "Stop" to end the recording.
Step 4: Press "Done" to confirm the recording or you may record again by selecting "Delete and record again" (the latest record will be deleted and cannot be recovered).
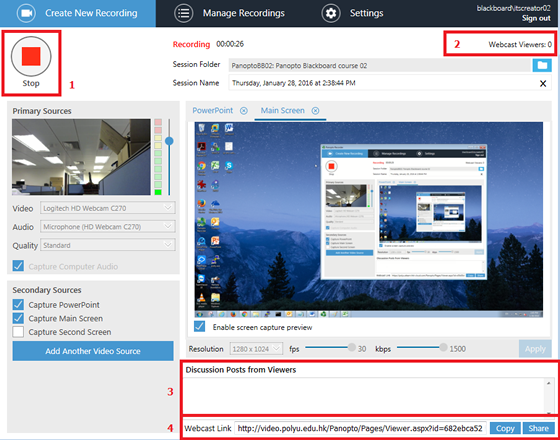
How to start a WebcastingSimilar to normal recording, check the "Webcast" box before "Record" to start a live broadcasting.
The Recorder shows additional functions than normal recording
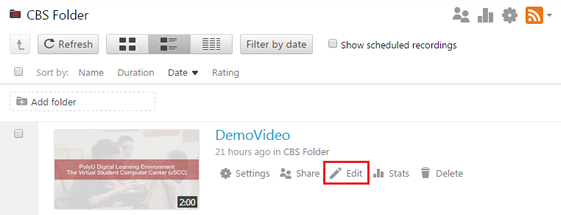
Note: Viewers may experience 1-2 minutes delay when watching the live webcast, it depends on the network traffic How to edit your recordingHover your mouse over the video, then click “Edit”
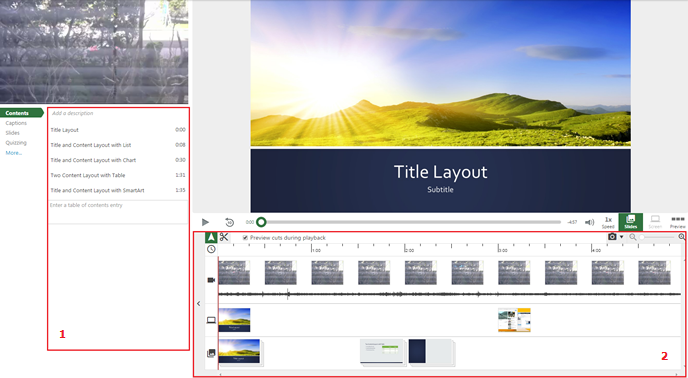
Here is the Panopto editor View:
Select the scissor Drag the mouse to select the section that you decide to cut out, the gray area indicate the section is cut.
"Un-do" and "Re-do" any steps by clicking the icon on the upper-right corner, "Publish" your edit when finish, or "Revert" it to original state.
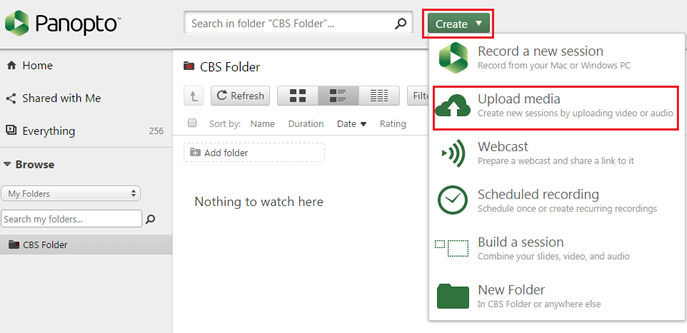
How to upload multiple videos to the VCMSStep 1: Navigate "All Folders" or "My Folders" on the left hand column and choose the folder where the session will be created Step 2: Click the "Create" option on the top panel and then "Upload Media"
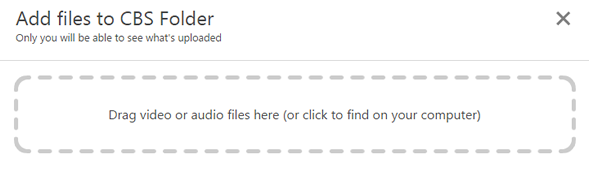
Step 3: You may drag files into the dashed area or click to find in file explroer
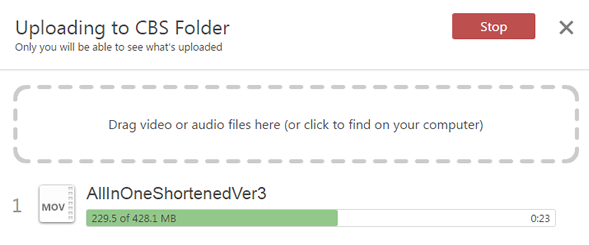
Step 4: The video is uploading to the VCMS.
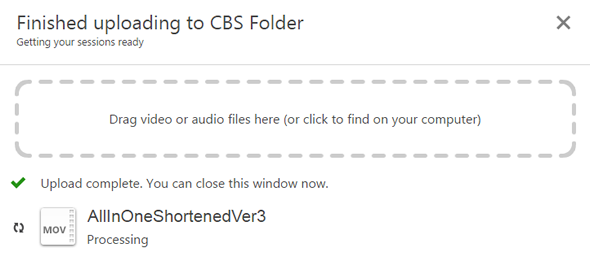
Step 5: Finished uploading and you may close the windows.
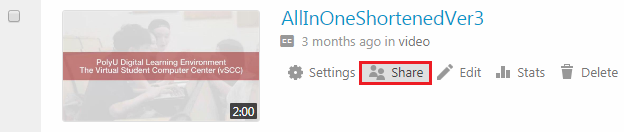
How to share your videosStep 1: Click “Share” on the session you want to share.
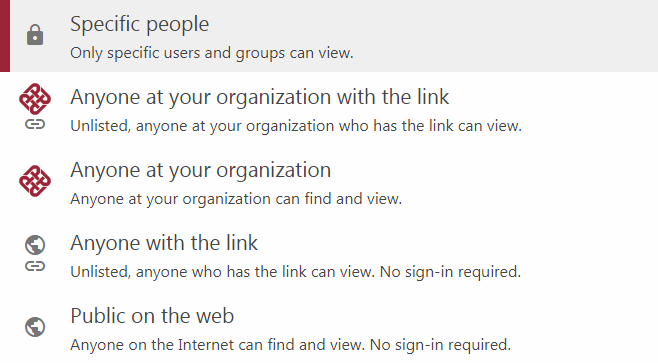
Step 2: Click the drop down arrow under who has access to show the sharing options.
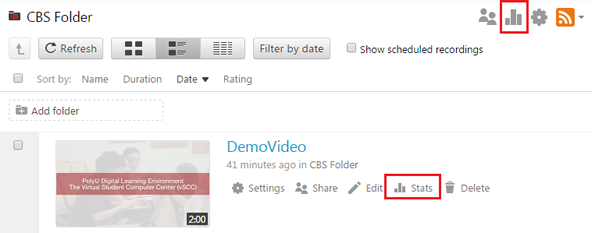
How to view the video analytics and reportsYou may access the video analytics by clicking "Stats" button for the videos/folders you are interested in.
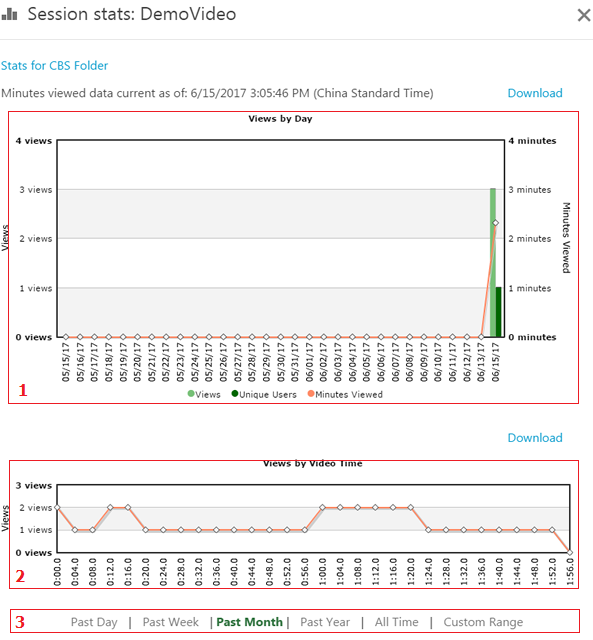
The report will be generated in a pop-up window (requires Adobe Flash on your browser)
A list of viewers and the number of views and average time spent are shown at the bottom
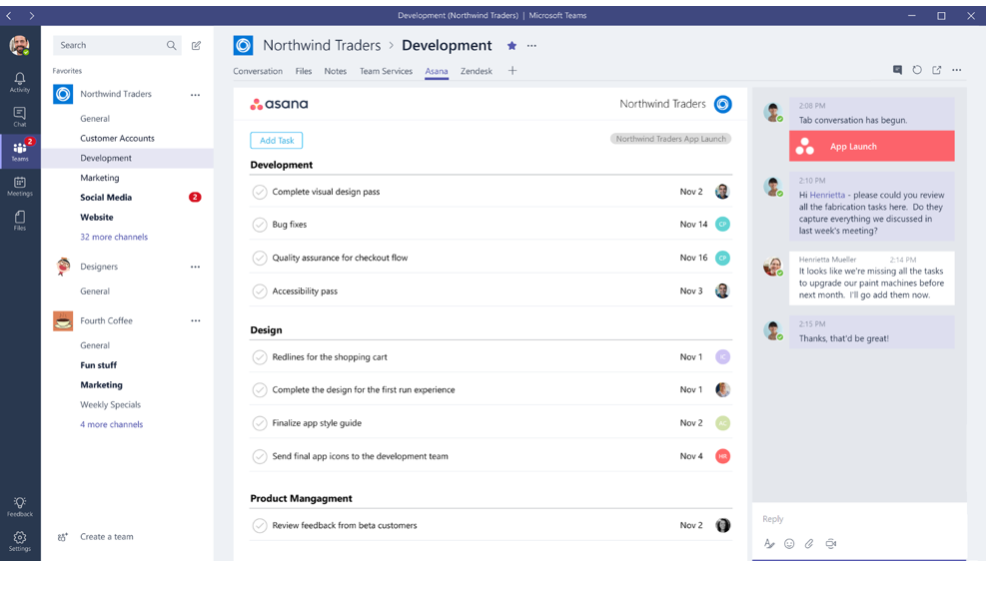
How to embed panopto video in Microsoft TeamStep 1: Open Microsoft Team, click Add a tab at the top of your channel or chat. Select the tab you want from the tab gallery.
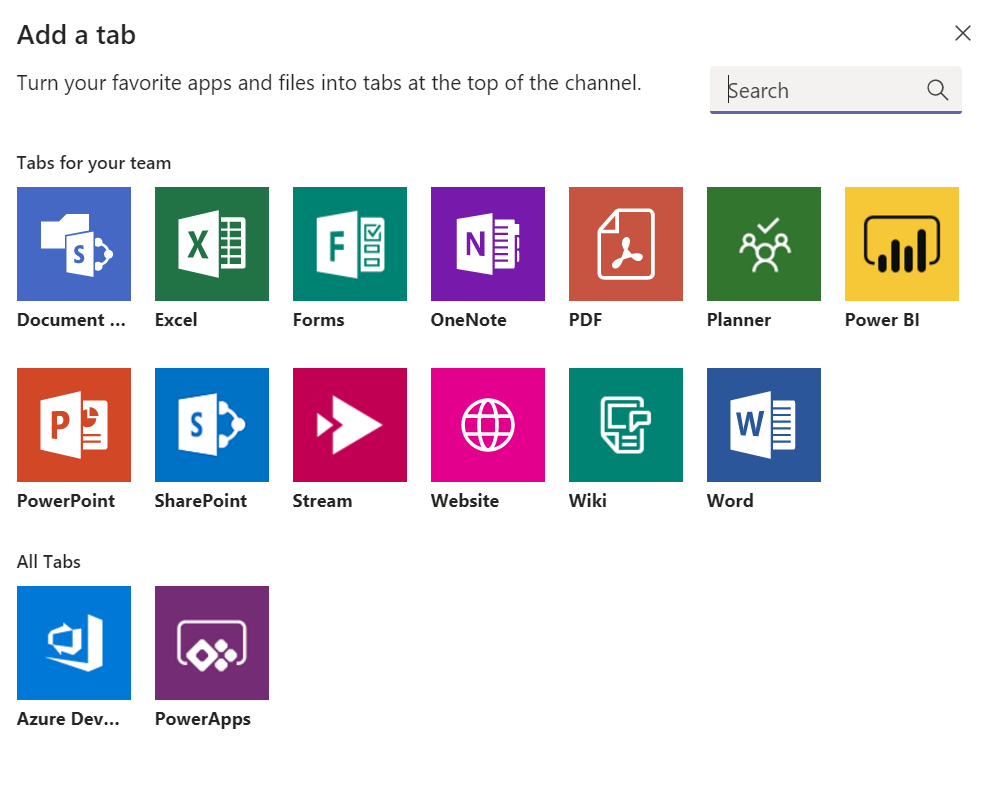
Step 2: Choose Website tab
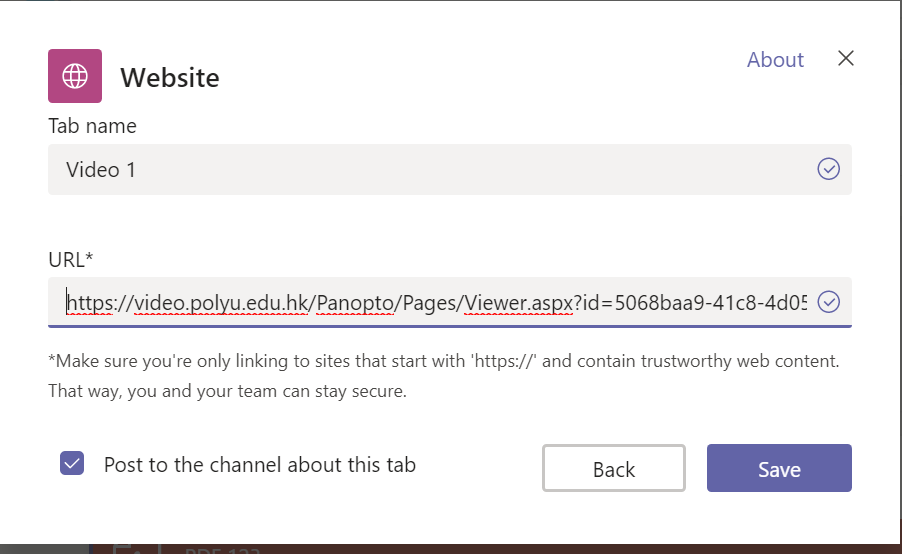
Step 3: Enter the Video name in Tab name and Video URL in URL* field
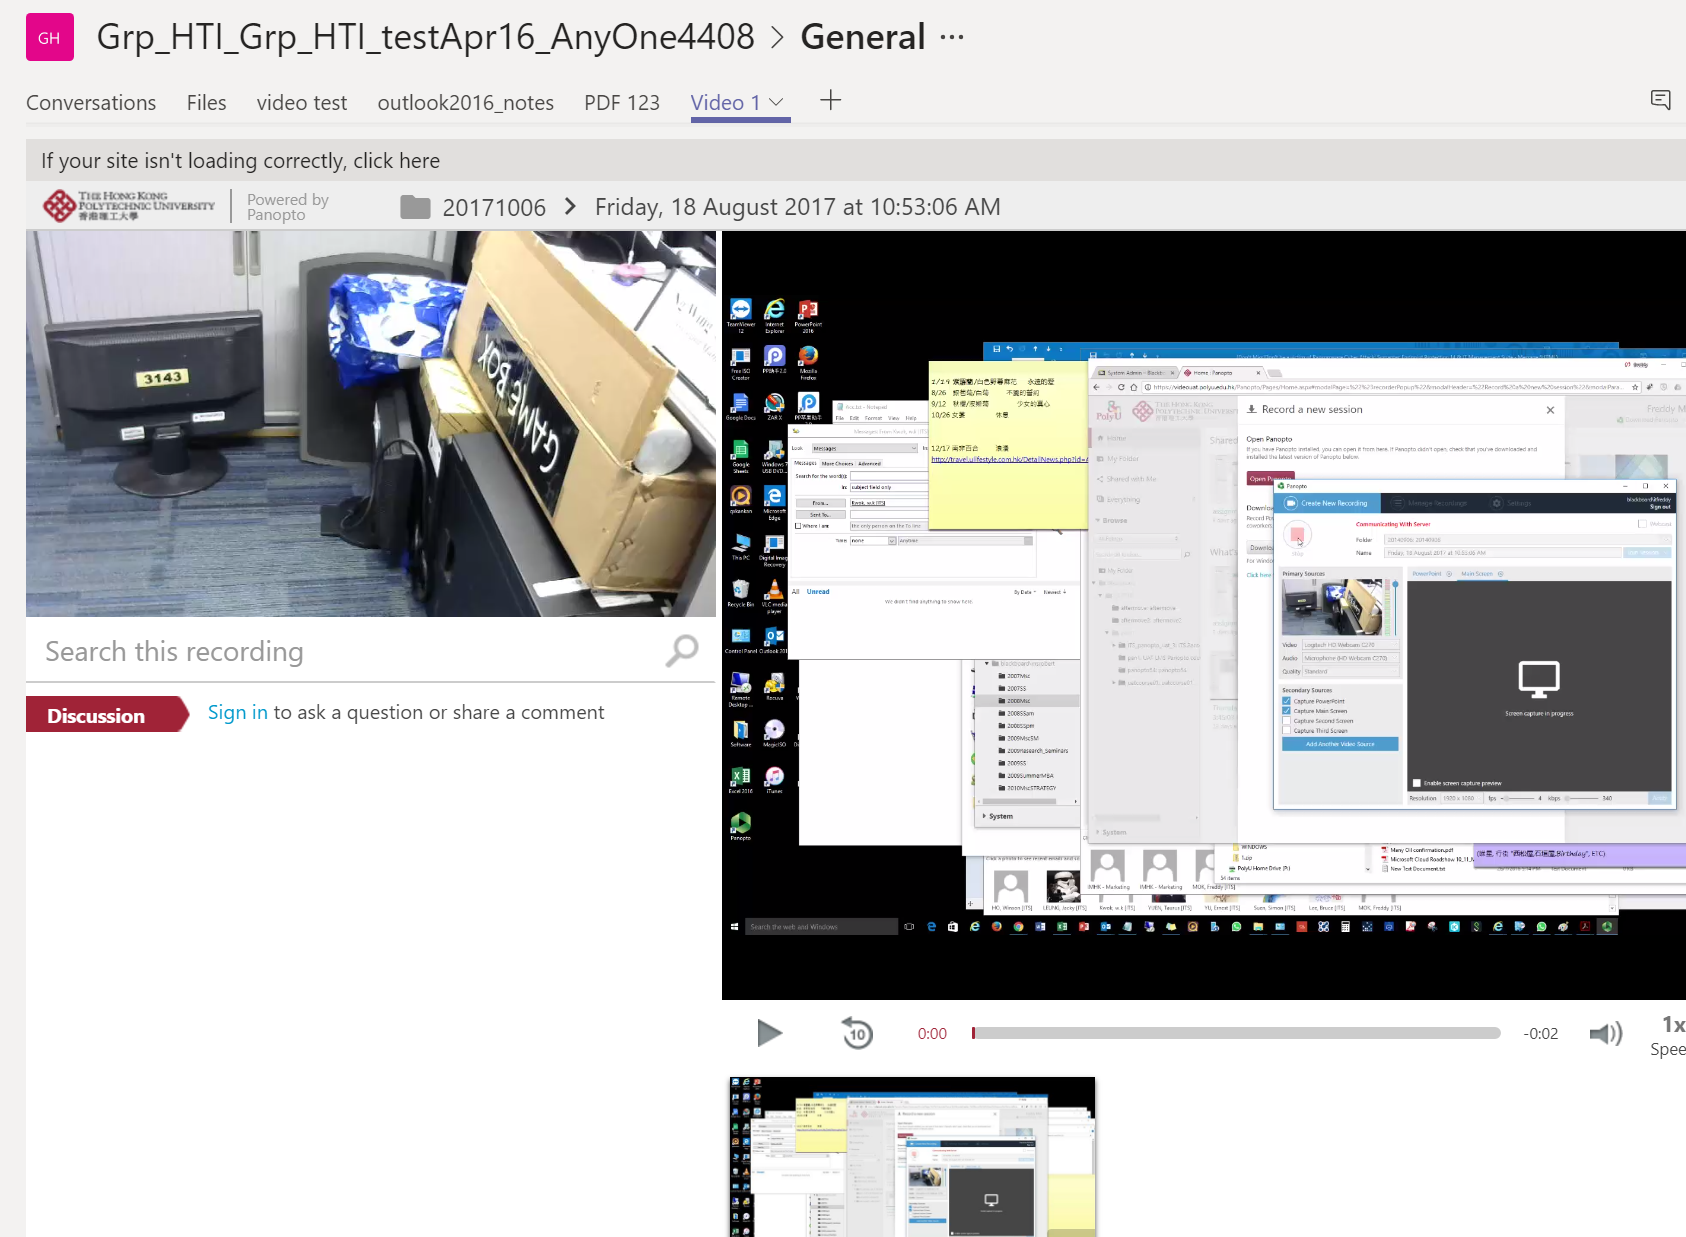
Step 4: MS Teams members can play the video within the tab (e.g. Video 1)
|


 in the cutting area to enter the trimming mode.